Interactive tutorial - MuleSoft Anypoint Platform API Catalog by Rolando Carrasco
Have you ever wanted to do some interactive tutorials while learning MuleSoft? There are not a lot of options out there for this purpose. However, MuleSoft Ambassador Rolando Carrasco took the time to create one for us!

Have you ever wanted to do some interactive tutorials while learning MuleSoft? There are not a lot of options out there for this purpose. However, MuleSoft Ambassador Rolando Carrasco took the time to create one for us!
Watch the video or follow through the article to learn how to use this awesome platform called Killercoda to learn more about API Catalog.
Getting started
To get started with the interactive tutorial, first go to this link. This will open the Killercoda platform with the scenario that Rolando created for us.
A bunch of stuff is going to be running in the terminal. Let that finish. It’ll take a few minutes to get started.

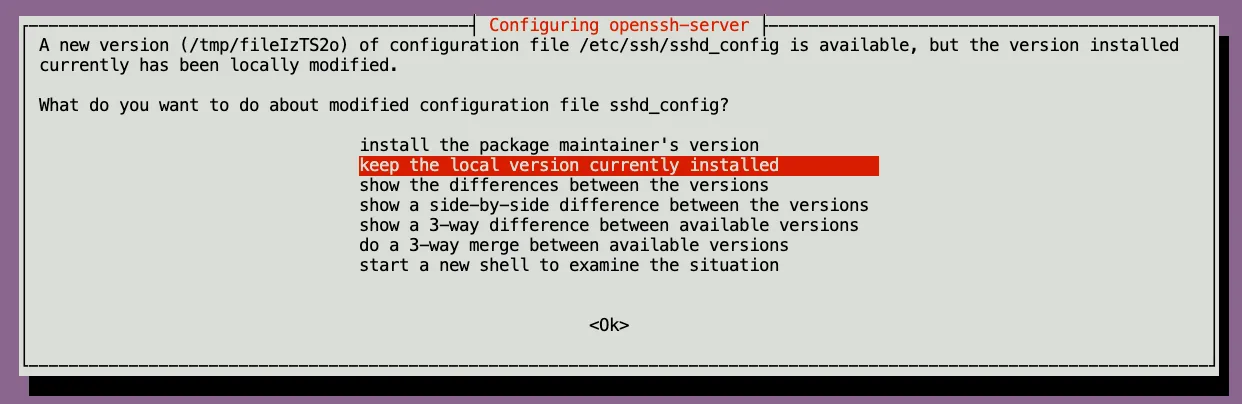
Once the progress is finished, you will see a new prompt asking you about the sshd_config. Make sure you select “Keep the local version currently installed” and press Enter.
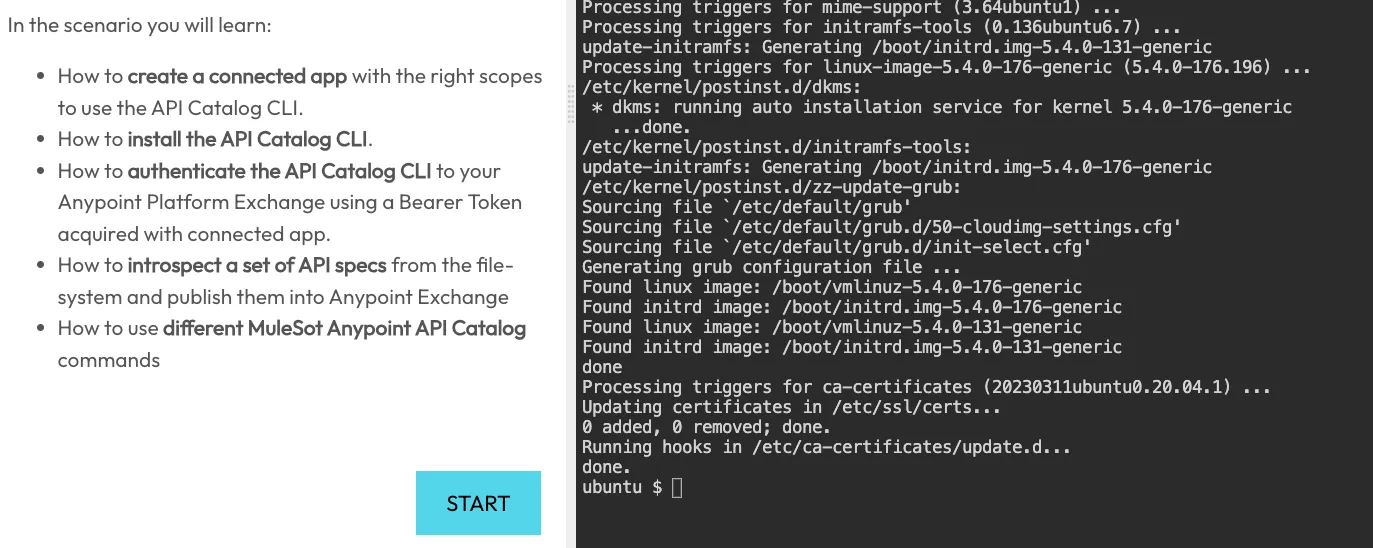
It will now continue installing stuff. Once it’s 100% finished, you will be able to see the Ubuntu $ prompt on the right screen. At this point, you can click on START (scroll down on the left screen) and get started with the tutorial.
Follow the instructions
The tutorial’s instructions are located to the left side of the screen while the actual terminal is located to the right.
Once you start the tutorial, you will see some commands that you need to run in the terminal. Killercoda lets you click on those commands on the left to automatically execute them on the right (on the terminal). You do not need to copy and paste the commands.
There will also be some instructions for you to follow outside of Killercoda. For example, creating a Connected App in Anypoint Platform or gathering your Organization ID. However, the screenshots in the interactive tutorial are very useful.

There is also an Editor tab located at the top of the terminal window.
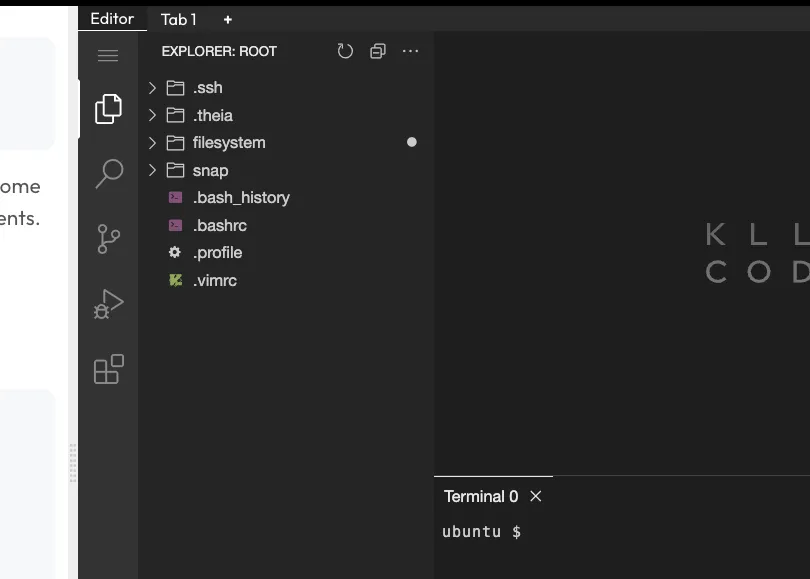
This Editor is based on Visual Studio Code and is useful to use the File Explorer to verify certain files have been downloaded to the remote system. You will be using this Editor in the tutorial at some point to modify the Catalog files.
Other considerations
Killercoda lets you use the platform for free but it asks you to finish the tutorial in less than 60 minutes. This is ok. The total time of this tutorial is around 20 minutes. You will have plenty of time to finish.
If you have any feedback about this interactive tutorial, make sure to comment on this article or message Rolando Carrasco directly.
We hope to see more interactive tutorials like these from the community!
Thanks again Rolando for taking the time and create this amazing tutorial!!
Subscribe to receive notifications as soon as new content is published ✨
💬 Prost! 🍻
FAQs
Frequently asked questions about this post.
-
How do I start the interactive API Catalog tutorial?
Go to the Killercoda scenario at https://killercoda.com/borlandc/scenario/mule-tester , which opens the platform with the scenario Rolando created. Let the terminal finish installing the packages (it takes a few minutes), and when the openssh-server prompt appears choose "Keep the local version currently installed" and press Enter. Once installation reaches 100% you will see the Ubuntu $ prompt on the right, at which point you click START on the left screen to begin.
-
Do I have to copy and paste the commands into the terminal?
No. Killercoda lets you click the command blocks on the left side of the screen to automatically execute them in the terminal on the right, so you do not need to copy and paste them.
-
What is the Editor tab used for in this tutorial?
The Editor tab at the top of the terminal window is based on Visual Studio Code. It is useful for using the File Explorer to verify that certain files have been downloaded to the remote system, and at some point in the tutorial you use it to modify the Catalog files.
-
Does everything in the tutorial happen inside Killercoda?
Mostly, but there are also some instructions to follow outside of Killercoda, such as creating a Connected App in Anypoint Platform or gathering your Organization ID. The screenshots included in the interactive tutorial are very useful for those steps.
-
Is there a time limit, and is it free to use?
Killercoda lets you use the platform for free but asks you to finish the tutorial in less than 60 minutes, which is fine because the total time of this tutorial is around 20 minutes, so you will have plenty of time to finish.